Saturday, November 19, 2011

Christmas came to our home!!!


Remember my pumpkins?!?!?!  I had so many, I couldn't figure out what to do with them all.


For Halloween I did these.


So...  For Christmas I decided to use them to make a SNOWMAN!!!  I love snowmen/women, they are my favorite Christmas decorations.  They are just so cute!!

I decided she was going to be a she!!!  Haven't names her yet.  OT has already knocked her head off once too.  She'll eventually go outside once it gets cold and stays cold (and isn't so dern WINDY!!)


Each morning as I'm drinking my latte, I'll look around at all the beautiful things others make to get inspiration, or ideas.  A while back I came across this tute on how to make lampshade covers for a chandelier.  Well, I have these wall sconces that I don't mind, but once the walls were painted, they pretty much fade into the wall color.  I've never found any other shades that I likes, OR if I did, they were $$$$.  That dern champagne taste on a beer budget.  Ugh!!!  So, when I saw this, I got inspired!!!!


My boring, camouflaged wall sconce shades
closer look; they are pretty, just blah.

Went to Jo Ann's one day for glitter and they were having a scrapbook paper sale.  5 sheets for $.95.  I bought 4 of the glitter'ish red, 4 of the glitter'ish orange (the color of my living room) and then purchased the snowflake stamp sheets.  Cut them apart and glued to the red shades.  For my first attempt, I'm not disappointed.  Not perfect, but...  Gotta wait for the next sale and try it again.  I'll post when I do my "regular" ones.


Need to put up the big tree in our living room and do my outside decor and I'm ready for SNOW and CHRISTmas!!!!


Thursday, November 10, 2011

Completing it!!

I finally thought of something to do with the rest of the fabric from my Aunt's dress!! 

 Remember this:  


I turned the under part of the dress into a skirt,


and a cami,


but was totally stumped on what I wanted to do with this. 


I thought maybe a tunic, but the sleeves were really weird and the neck was cut really low.  So, I tried to make a tunic like this

Too baby-doll dress'ish.  Not me when not pregnant!


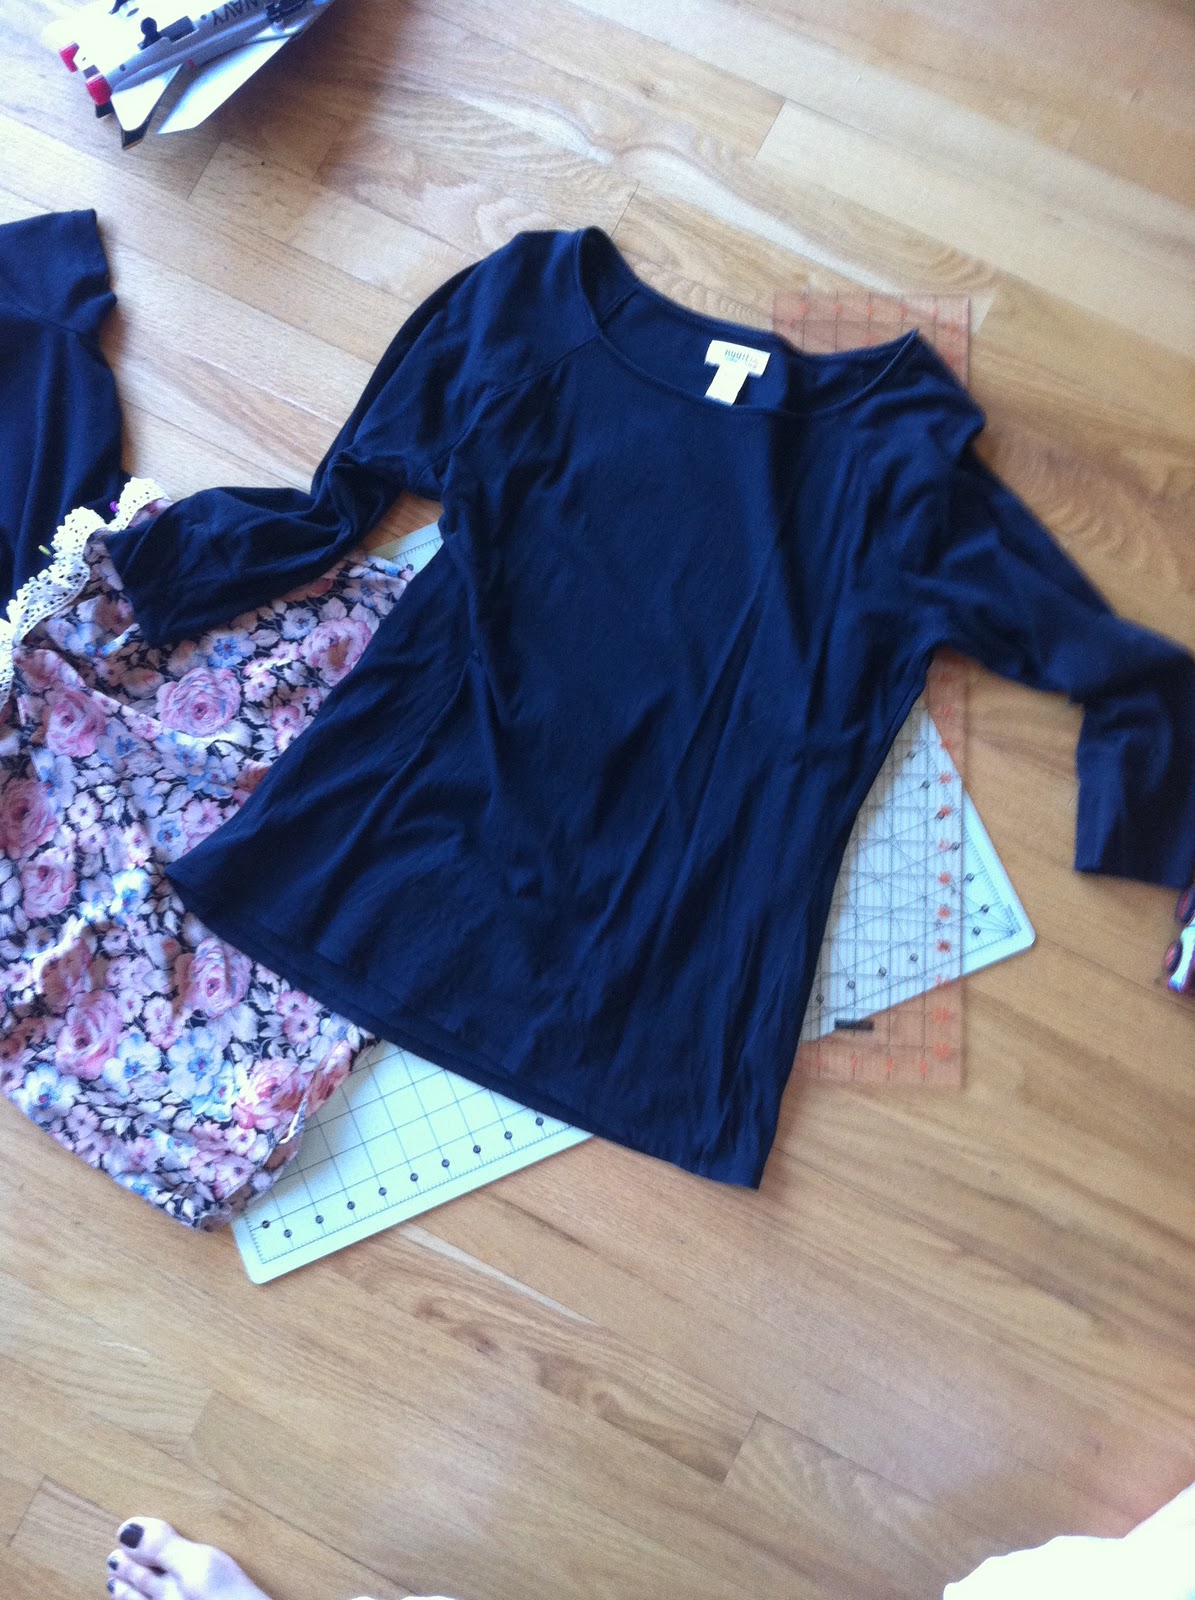
Found a boring black t-shirt in the closet and decided to use it and try to make my vision come true.


I cut 3 inch strips on the bias so it would stretch with the knit in my t-shirt.


Pinned my strips to the inside of the black shirt and then sewed them on.


Cut away the t-shirt very carefully!!


And taa-daa!!!  It worked!


Of course Kris said it looked like I had a little run in with Freddy Krueger.  Whatev...  I would so win that battle with all my blades!!!  Not to mention all the pins to poke in his eyes!!  Ha!

Allie taking some pictures of me in my new shirt!!


And this is for Mimi, the pic of my skirt I wore to church on Sunday...  Sorry it's taken so long!!


I really hate having my pic taken.  Feel like a goober!!  


Monday, November 7, 2011

Ceiling Fan Blade Iron 're-fashion"

My little cousin, well, not little, she's a TEENAGER, recently had her first teenage bedroom make-over.  The little girl room, with all it's pastel beauty is gone and in it's place is the contemporary, adult'ish, I'm growing up palette of young womanhood.  I STILL remember my teenage room make-over.  *sigh*...  Went from Care Bears to all white and ruffles.  20 years later (wow, that sounds OLD), but yes, 20 years later, I still have that comforter.  It's been stitched and sewn quite a bit, but it's so soft.  I just can't part with it.

Anyway, on to the point of my story, my big cousin asked me if I could paint her big girl's ceiling fan irons.  Of course I would!!  Anything for our little lady!!

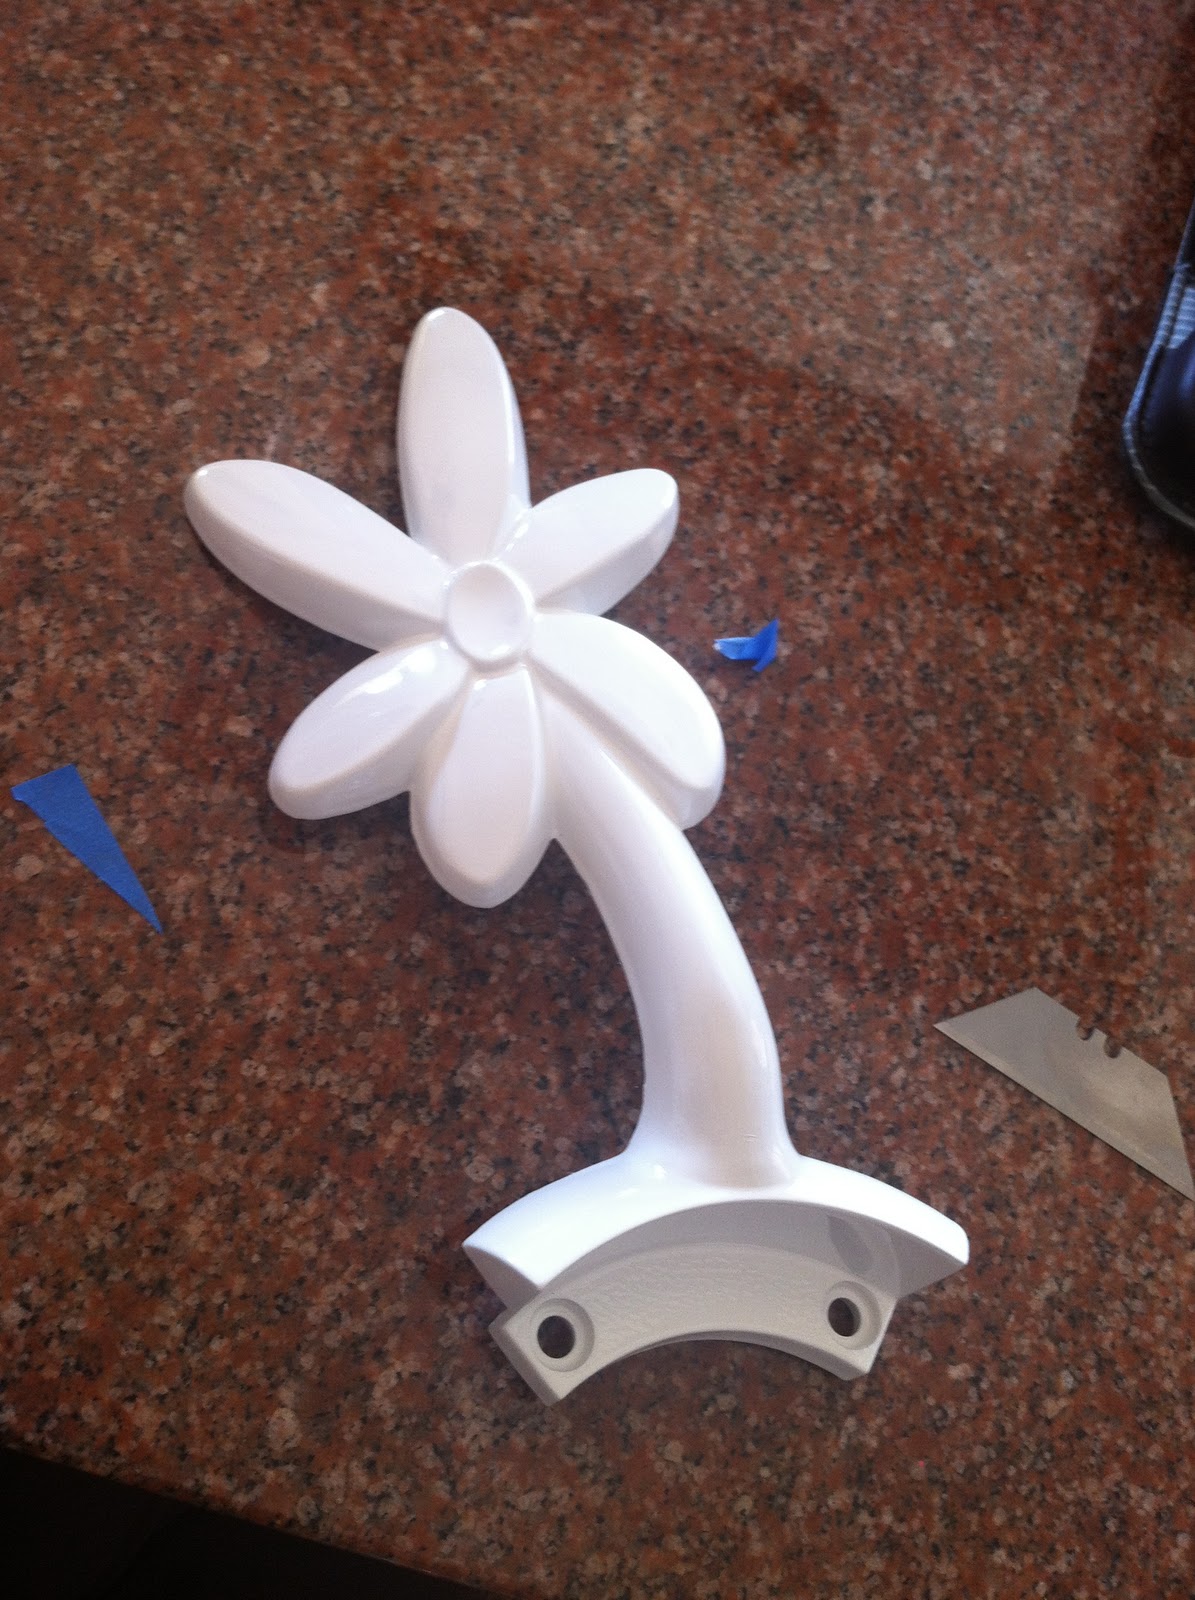
A blank little flower slate!!


painters tape and a blade
cut away the tape


Tape the whole iron and then tape the ends in some grocery bags

low grit Steele wool

I decided to hot glue the center of the flower, thought it would be easier than taping.  Didn't  "pop" off as easily as I wanted, but got a nice clean end result.

prime, black then silver

The black

the silver on top of the black

Now I took a firm brush to the silver while still damp to smudge the black back

Watching paint dry...  


I used the metallic silver Painters pen to touch up around the edge.

The best accident control I've found yet!  Takes paint  oopsies off almost everything.  Including wood floors.


Taa-daa!!!


Brushed nickle looking flower blade irons!!
Wish the pictures showed the true color better.  Oh well...

Earring Organizer


A few years ago, as I was cleaning out my closet (this event probably happens once or twice a year if it's lucky, and it is an event!) I realized my jewelry was OUT OF CONTROL!!!

So, to control and contain, I had to come up with something, other than just a heaping tangle'y mess of baubles laying on and in drawers.

So, to deal with the long necklaces and scarfs, I purchased tie hangers from Walmart,  works well for me.


So, necklaces...........Check
Scarves....................Check
Belts (same idea)......Check
Bracelets, rings, small necklaces............Tucked into jewelry chest
Earrings....................Ugh!!!!

After searching the stores (plastic junk), Google'ing (no luck, or not many ideas that I liked) and finally bedtime brainstorm, after brainstorm, I came up with this:


front view

back view


I used an embroidery hoop with canvas stretched taut, cut the extra fabric.  

I then hot glued some fake pearls across the lower part of the hoop so I could hang my hoop earrings. The beads/pearls also keep the earrings separated and  in place, so they don't all slide to the middle. The drop and post earrings poke perfectly through the canvas.

I decided to add glass beads around the edge with got glue for two reasons. One and most importantly, to hide the ugly plastic blue hoop and 2nd reason was to weight it down so it doesn't go flying every time I hit it, which is often as it's right beside my clothes.


Inserted a ribbon into the tightening device on the hoop so I could hang it somewhere..


Attached it to my ceiling with a coffee mug hook (think that's what they are called)
And two years later, it's still hanging!  Now, if I could just put my earring BACK on it right after wearing them, I'd be a lot happier!!

Next project, how to organize bags, totes, purses and all the other miscellaneous junk my closet collects.  Please disregard the upper left hand corner of the above pic!! 

The hubs is away....

So I shall play...


catch-up!!

Tee-hee!!

Once again, the kids and I have been dumped for the CATS.  *sigh*

Have a few things that I have wanted to post, but haven't had the time, so tonight I shall!!  ;-)


We "heart" UK!!!  GO CATS!!!!

Friday, November 4, 2011

I DID IT MIMI!!!

I did it!  I FINALLY made a wearable pair of straight/skinny pants out of some too big ones!!!

I was SO excited, yet Kris didn't seem to share my excitement.  Go figure!!  ha!!

Drum roll please....

(and by golly, I didn't take a real before, because I've been "FAIL"'ing up till today, so I pieced them back together to give you an idea...)

Before (sort of)
After!!


On yours truly


While sewing, this got nicked by my rotary cutter I think.
Used the only patch I had.  Blue jean.  Hmm!


Anywho, I'm so dern excited!!!  I have used this tute for all my trials on making big pants to skinnys.  It's NEVER, ever worked for me until now!  It' finally 'clicked'!!  Mimi was here on one of my trials, it FAIL'ed as well, but not today!!!!  YAAAYYY for me!!  It worked with a few hiccups!!!  I'm okay with that.  I now have some GREEN skinny pants/leggings to wear with some funky boots!!  Or, may not ever wear them!!  Ha!!!